Pipe Relining
Sewer Relining: Keeping Up with the Times in the Hustle and Bustle of Growing Sydney
By admin
/ June 11, 2024
Nestled along the gorgeous coastline of southeastern Australia, Sydney, the capital city of New South Wales, is a bustling and...
Read More
blog
Plumbing Diaries in Sydney: The Wonderful Benefits of Drain Relining
By admin
/ May 8, 2024
In Sydney's bustling metropolis, where modern living meets the limitations of ageing infrastructure, new solutions are critical to maintaining the...
Read More

blog
Safeguarding Your Plumbing System Through CCTV Pipe Inspection in Sydney
By admin
/ April 15, 2024
What happens to something when it’s being used daily? It wears out, the same goes with the plumbing. Eventually, it...
Read More
blog
Extending Lifespan of Your Sewer Line Through Sewer Pipe Relining
By admin
/ April 9, 2024
A good working condition sewer system is the backbone of a well-maintained property, capable of holding up years and even...
Read More
blog
Modern Solutions for Pipe Repair: The Upsides of No-Dig Pipe Repair in Sydney
By admin
/ March 14, 2024
When it comes to plumbing, problems like broken sewer lines or clogged pipes have traditionally been synonymous with disruptive and...
Read More
blog
Transformative Pipe Relining Solutions in Sydney: Resolving Blocked Toilet Woes
By admin
/ March 8, 2024
In a city that blends iconic heritage with modern architecture, maintaining the integrity of plumbing systems in both old and...
Read More
blog
How to get away from blocked drain problems this summer
By admin
/ February 7, 2024
Experts recently warned of climate change and its tendency to exhibit extreme conditions than ever before - that means, without...
Read More
blog
Signs it’s Time to Call the Pipe Relining in Sydney Experts
By admin
/ February 1, 2024
Let’s face it, when your plumbing stops doing its job, your daily life at home is significantly affected for the...
Read More

blog Pipe Relining
Pipe Relining: Sectional Patch Repair in 50mm PVC Pipe Sealing a Screw Hole
By admin
/ April 12, 2023
https://www.youtube.com/watch?v=IlN2BV0BUh0 Today, we're doing a 50mm patch on the floorbase of a veranda. A screw has been drilled through the...
Read More
blog Pipe Relining
Example Of Why A Junction Patch Is So Important!
By admin
/ April 12, 2023
https://www.youtube.com/watch?v=Q_O_UAAEi_A Here is some pipe re-lining work installed by another company. This is the perfect example of when a junction...
Read More
blog Pipe Relining
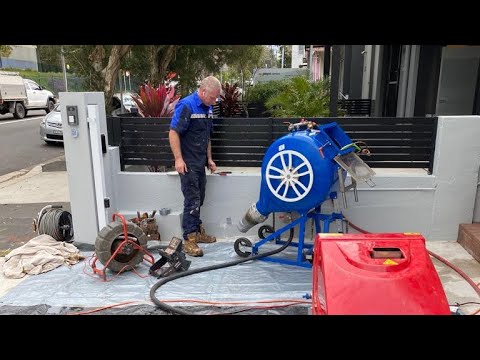
No Dig Pipe Repair at a Residential Property | Inversion Relining + 2 x Junction Patches + 2 x Cuts
By admin
/ April 12, 2023
https://www.youtube.com/watch?v=WcOkKuDyQtM&t=15s In this video, we've completely realigned all the drains on a residential property. Right now we're filming from a stack...
Read More
blog Pipe Relining
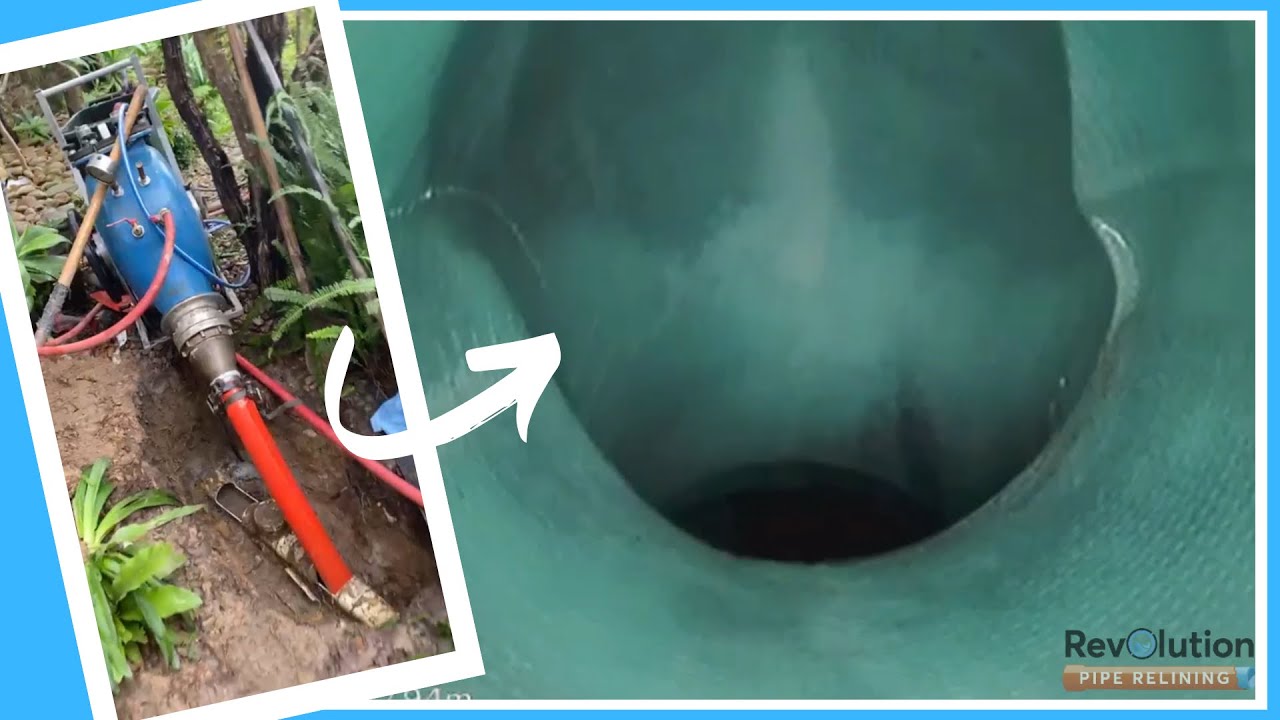
Relining Solutions To Repair A Boundary Trap!
By admin
/ April 12, 2023
https://www.youtube.com/watch?v=qT0mSZ4sT0E Hello there, welcome to the Revolution! Here you'll see our expert team relining a boundary trap.Our liner goes down the...
Read More
blog Pipe Relining
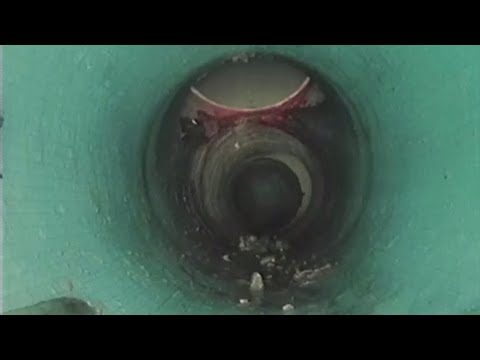
Sewer Relining a Vertical Shaft With 10 Changes of Direction! This Was a Very Technical Job!
By admin
/ March 29, 2023
https://www.youtube.com/watch?v=V_0yXNgeirM Line's been thoroughly cleaned and sanded out. See all the cracks very clearly, the tree roots are getting in....
Read More
blog Pipe Relining
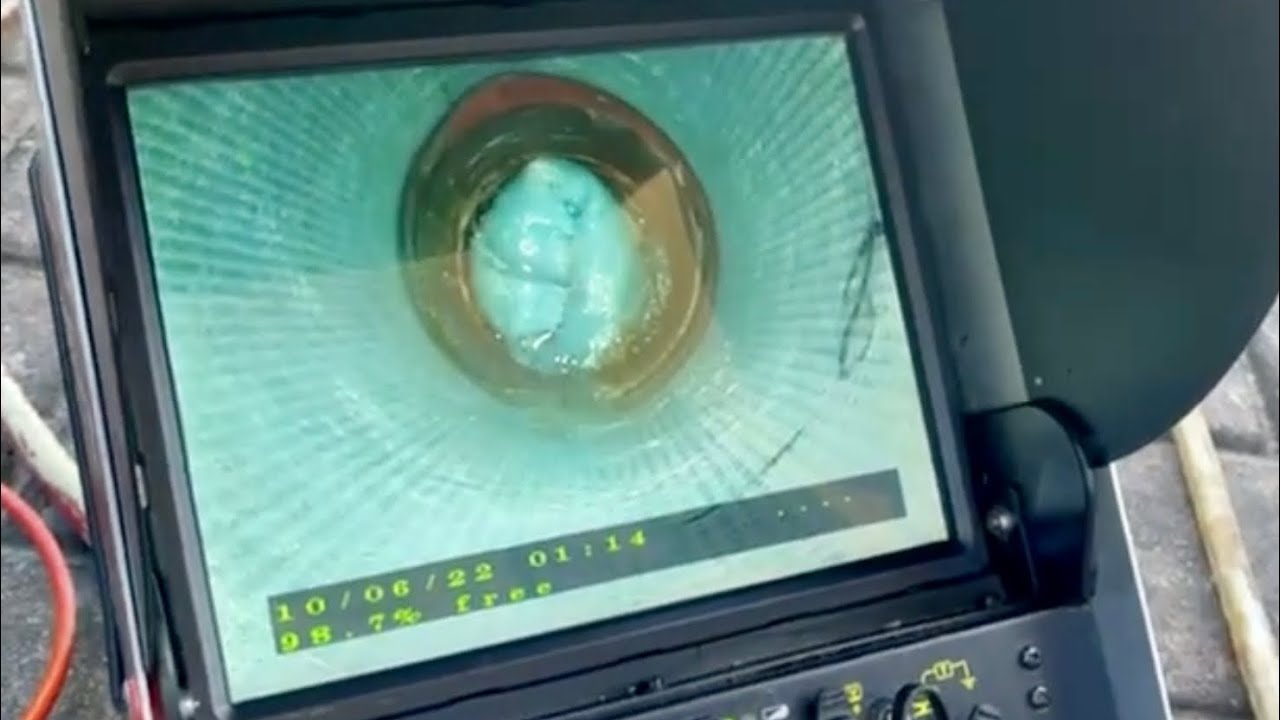
How To Install a Junction Patch By Revolution Pipe Relining
By admin
/ March 29, 2023
https://www.youtube.com/watch?v=B_TLEASohgkToday we're going to show you how we install and wet out a junction patch. This is a T-junction we're...
Read More
blog Pipe Relining
PLUMBERS and BUILDERS! Don’t Dig Up The Street On A New Build! Save Time and Money By Relining The Sewer
By admin
/ March 28, 2023
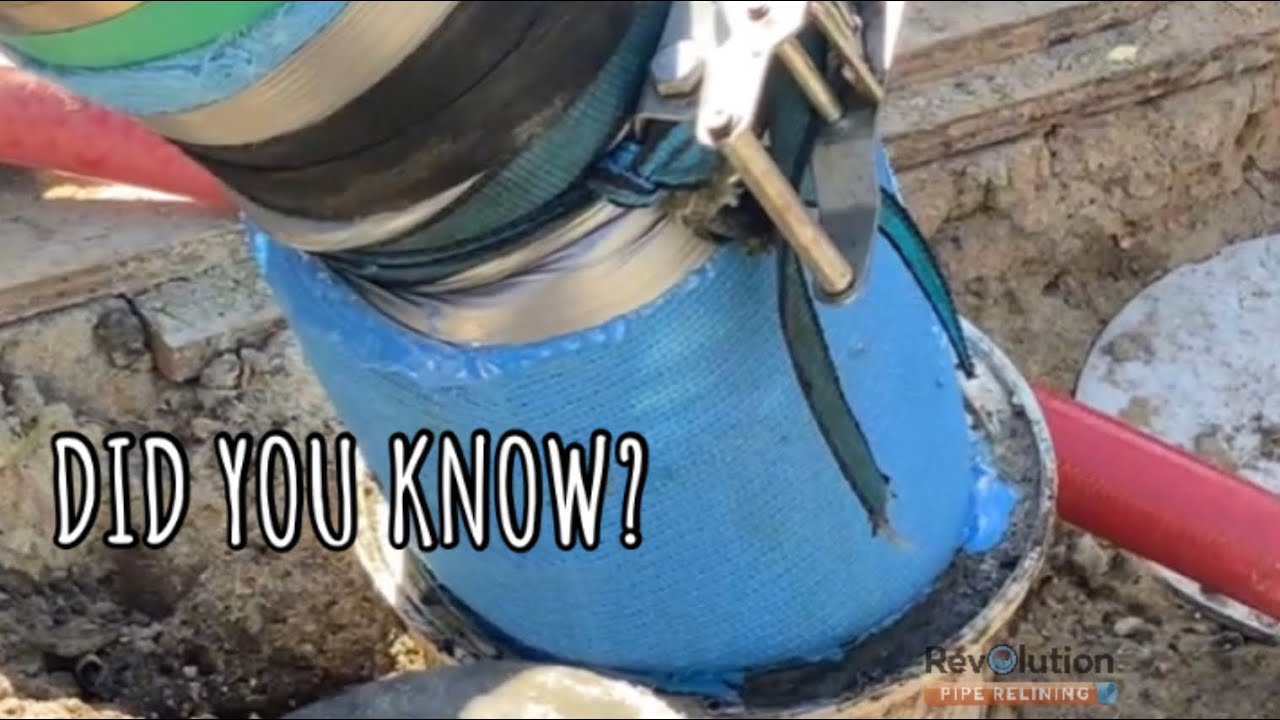
https://www.youtube.com/watch?v=M9xWuGW83C0 Did you know on a new build you don't need to replace the pipes all the way to the...
Read More
blog
5 Reasons You Can Rely on Pipe Relining Western Sydney Professionals to Fix Damaged Pipes
By admin
/ September 13, 2022
If you want to be on top of your plumbing, it’s a good idea to have a number on the...
Read More
blog
Trenchless Pipe Relining Specialist – How to Know You’re Hiring the Right One?
By admin
/ September 6, 2022
Almost always, hiring a plumber requires little to no effort. You ring them, educate them about the problem, they come...
Read More

blog
Is Professional Pipe Relining an Option for your Damaged Drains and Sewer Pipes in Eastern Suburbs?
By admin
/ September 5, 2022
In the past, if your home’s pipe or sewage system needed repair, it would involve excavating your yard and destroying...
Read More
blog
Do You Need Your Drains and Sewer Lines Repaired But Don’t Want to Ruin your Landscape, Northern Beaches Trenchless Pipe Relining is the Solution
By admin
/ August 29, 2022
When you need premier pipe relining services in Northern Beaches, you can always rely on Revolution Pipe Relining to deliver...
Read More
blog
How Sewer Pipe Relining Experts help you Avoid Winter Plumbing Problems
By admin
/ August 16, 2022
Unfortunately, sewer problems don't take the colder seasons off. In fact, extreme weather conditions can take an even greater toll...
Read More
